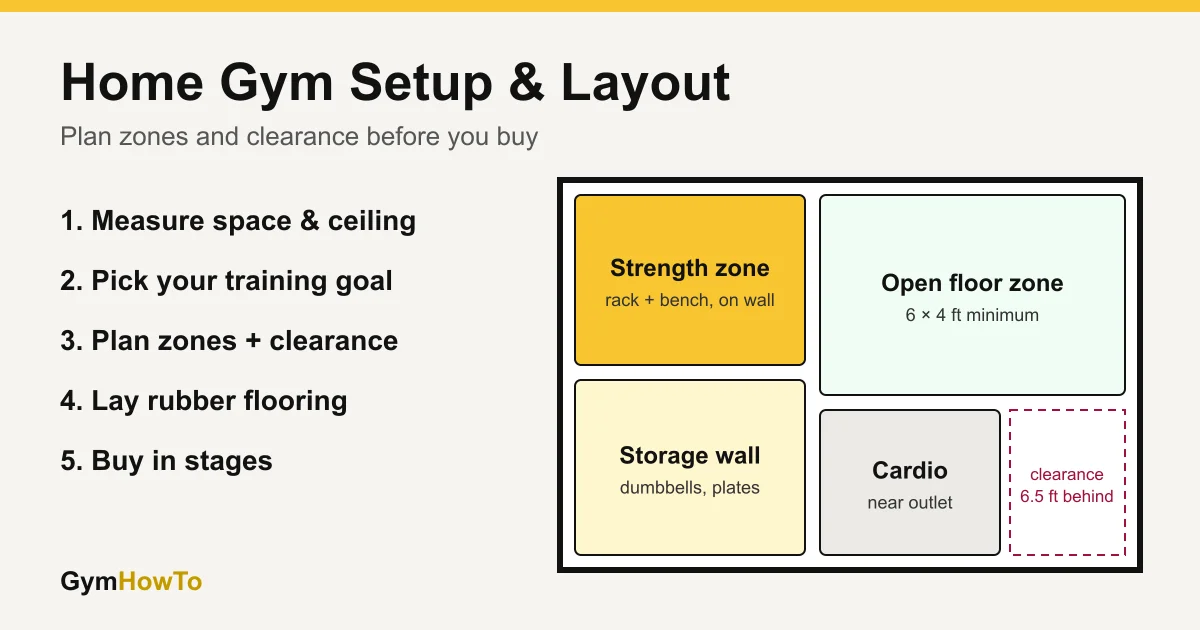
Short answer: Set up a home gym in five steps: (1) measure the space and ceiling height, (2) decide what training you'll actually do, (3) plan zones with enough clearance, (4) put down rubber flooring, and (5) buy equipment in order: adjustable dumbbells and a bench first, then a pull-up bar, then a rack or cardio machine. A 6 × 8 ft corner is enough to start.
- Measure first. Mark each machine's footprint plus clearance on the floor with tape before you buy anything.
- Ceiling height matters for overhead presses, pull-ups and racks: aim for 8 ft or more.
- Use zones: a strength zone against the wall, an open floor zone in the middle, and cardio near an outlet and airflow.
- Rubber flooring protects the floor, cuts noise and stops equipment from sliding.
- Buy in stages: dumbbells and a bench cover most beginner programs. Add bigger pieces once you know what you use.
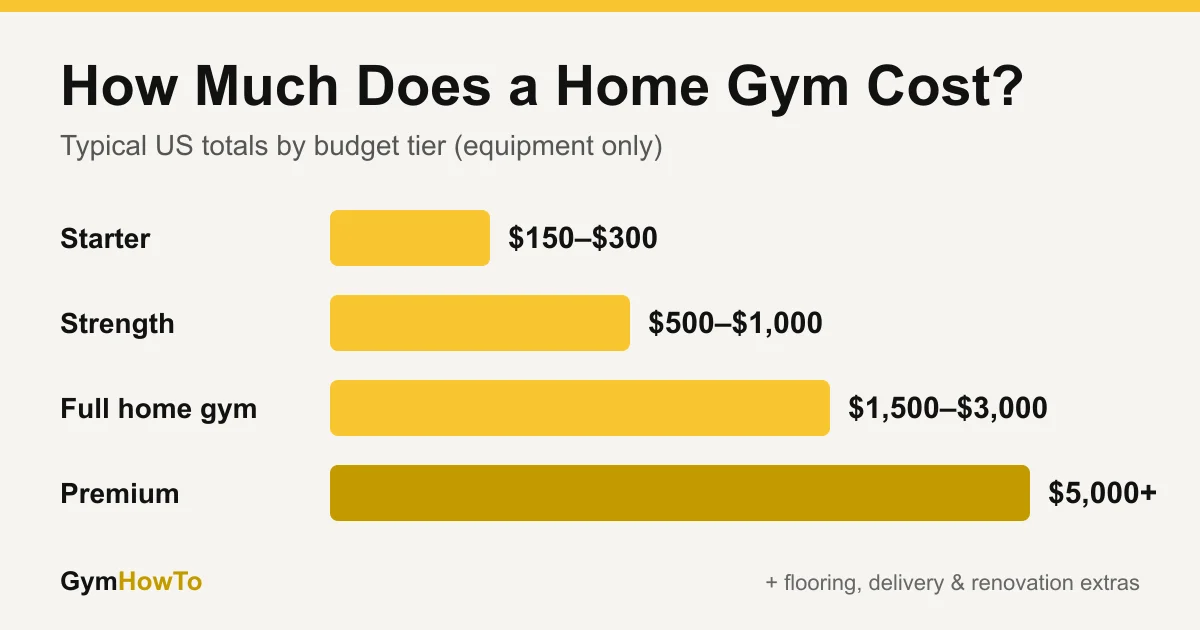
Wondering what it will cost? See our home gym cost breakdown. For specific equipment picks, start with the home gym guide.
Step 1: Measure Your Space
Write down three numbers before you shop:
- Floor area (length × width) of the space you can actually dedicate, not the whole room.
- Ceiling height, measured at the lowest point (beams, lights, garage door tracks).
- Doorway width on the delivery path. Treadmills and multi-station machines usually ship in large boxes.
Then mark the footprint of each piece of equipment plus its clearance on the floor with painter's tape. Walk through a few exercises in the taped space. It's the easiest way to find out a layout won't work before you've paid for it.
Footprint and clearance guide
| Equipment | Typical footprint | Clearance to add | Ceiling height |
|---|---|---|---|
| Adjustable bench | 4–5 × 2 ft | 3 ft on each side for dumbbell work | Standard |
| Power rack | 4 × 4 ft (half rack smaller) | 3 ft on each side for loading plates and the bar | 7.5–8 ft+ for the rack; more for overhead press inside it |
| All-in-one gym machine | 6–8 × 4–7 ft | 2 ft around moving parts and cables | Check the spec: many are 7–7.5 ft tall |
| Treadmill | 6–7 × 2.5–3 ft | 2 ft each side, 6.5 ft behind (ASTM guidance) | Your height + deck height + a few inches of bounce |
| Rowing machine | 8 × 2 ft | 2 ft each side | Standard (many store upright: about 7 ft) |
| Elliptical | 6–7 × 2.5 ft | 2 ft each side | Your height + 16–20 in of pedal rise |
| Floor / stretching zone | 6 × 4 ft minimum | – | Arms overhead + jump room |
Treadmill manufacturers and the ASTM safety standard call for a clear zone behind the treadmill (about 6.5 ft / 2 m) and around 1.5–2 ft on each side. Don't put a treadmill with its back to a wall, a window or a set of plates.
Step 2: Decide What Training You'll Actually Do
Your layout should follow your training, not the other way round.
| Main goal | Core equipment | Minimum space |
|---|---|---|
| General fitness / weight loss | Dumbbells, bands, mat, one cardio machine | 6 × 10 ft |
| Building muscle | Adjustable dumbbells, adjustable bench, pull-up bar | 6 × 8 ft |
| Strength / powerlifting | Power rack, barbell, plates, bench | 8 × 10 ft |
| Cardio-focused | Treadmill, rower or elliptical bike combo | 4 × 10 ft per machine with clearance |
| Small apartment | Adjustable dumbbells, folding bench, bands, doorway pull-up bar | 6 × 6 ft |
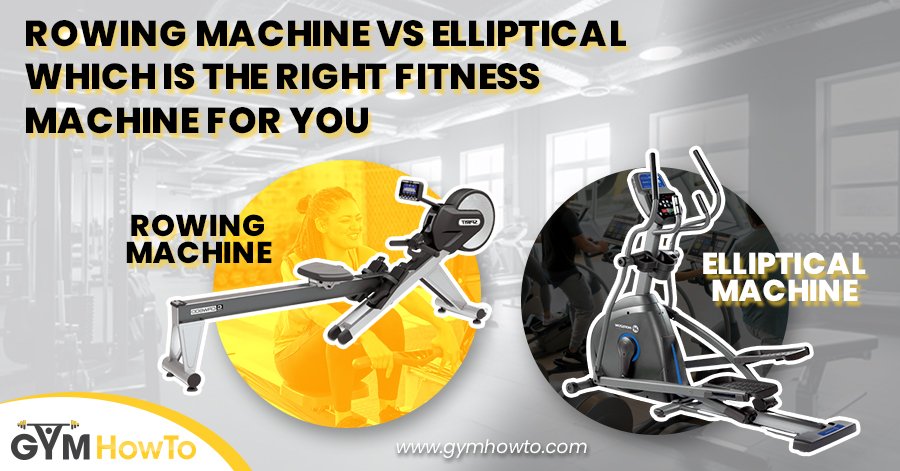
Not sure which cardio machine suits you? See rowing machine vs elliptical or motorized vs manual treadmills.
Step 3: Plan the Layout in Zones
Even a small home gym works better when it's split into zones:
- Strength zone, against a wall. Racks, benches and dumbbell storage are heavy, so put them where they won't need moving. Bolt or wall-mount racks where the manufacturer allows.
- Open floor zone, in the middle. Keep a clear rectangle (at least 6 × 4 ft) for warm-ups, stretching, bodyweight work and kettlebells. This is the zone people forget, and it's the one you'll use every session.
- Cardio zone, near an outlet and airflow. Most motorized treadmills need a dedicated outlet. Put cardio near a window or fan, and make sure it's somewhere you'd actually want to spend 30 minutes.
- Storage on the walls. Wall-mounted racks for bands, bars and plates free up floor space for training.
Sample home gym layouts
Corner of a room (6 × 8 ft): adjustable dumbbells on a stand in one corner, a folding bench along the wall, a doorway or wall pull-up bar, and a mat for the open zone. The bench folds away when you're done.
Spare bedroom (10 × 12 ft): a half rack or all-in-one machine on the longest wall, a bench that rolls into the rack, dumbbells beside it, a rower stored upright in a corner, and the middle left open for floor work.
One-car garage (about 12 × 20 ft): a power rack with a platform at the back wall, a plate tree and dumbbell rack beside it, a treadmill or rower near the door for airflow (with the clearance behind it kept clear), and a 6 × 8 ft open zone with stall mats.
Two-car garage (about 20 × 20 ft): split it into a lifting half (rack, bench, platform, storage wall) and a conditioning half (cardio machines, open floor, a wall ball target or pull-up rig).
Step 4: Choose Flooring
Rubber flooring is worth it in almost every home gym. It protects the floor, cuts noise and vibration, and stops equipment from creeping.
| Flooring | Thickness | Best for | Typical cost |
|---|---|---|---|
| Foam tiles | 1/2 in | Stretching, bodyweight and yoga only | $0.50–$1.50 / sq ft |
| Rubber rolls | 8 mm (5/16 in) | Cardio machines, light dumbbells | $1–$3 / sq ft |
| Interlocking rubber tiles | 8–20 mm | Mixed-use rooms, easy DIY install | $2–$4 / sq ft |
| Horse stall mats | 3/4 in (19 mm) | Under power racks and heavy free weights | $1–$2 / sq ft |
Foam squishes under heavy loads and dents permanently under machine feet, so keep it to floor-exercise zones.
Step 5: Buy Equipment in the Right Order
Buy in stages. Most beginners get more from a few well-chosen pieces than a room full of gadgets.
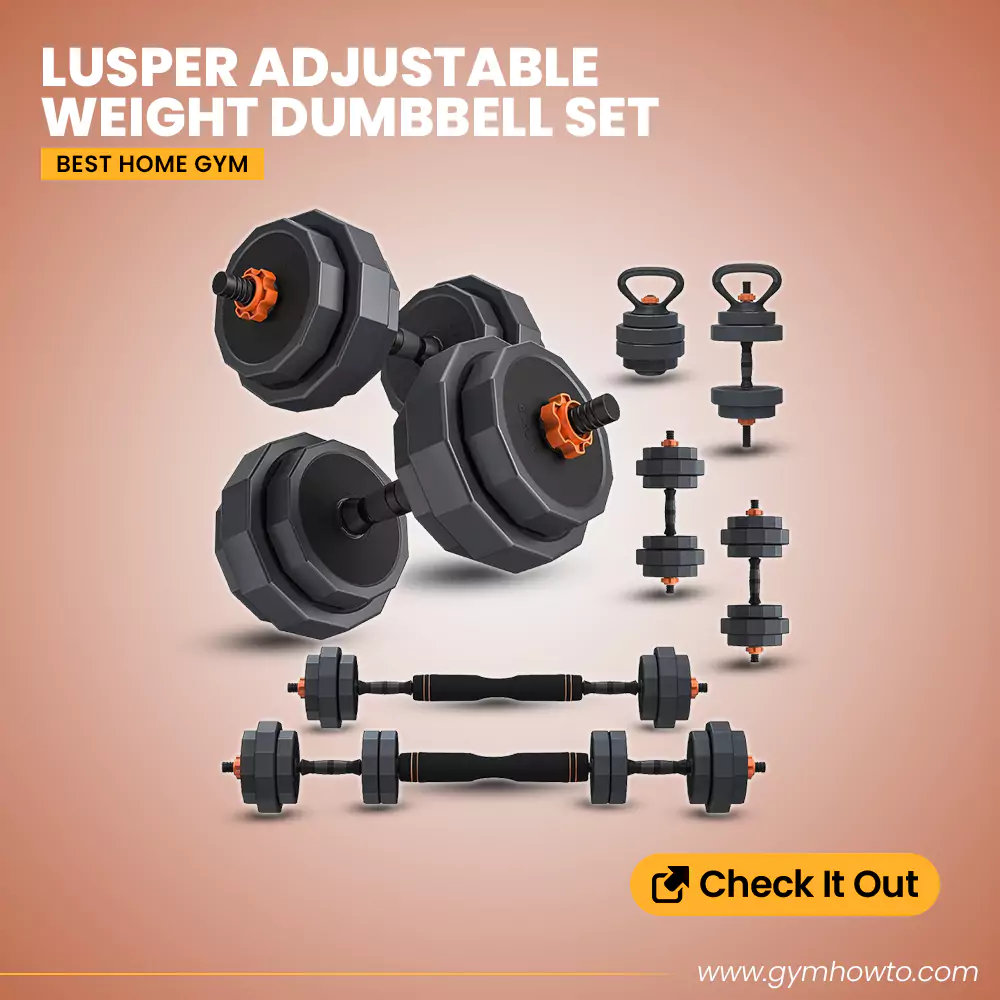
- Adjustable dumbbells. The most versatile single purchase you can make: presses, rows, squats, lunges, curls and more.
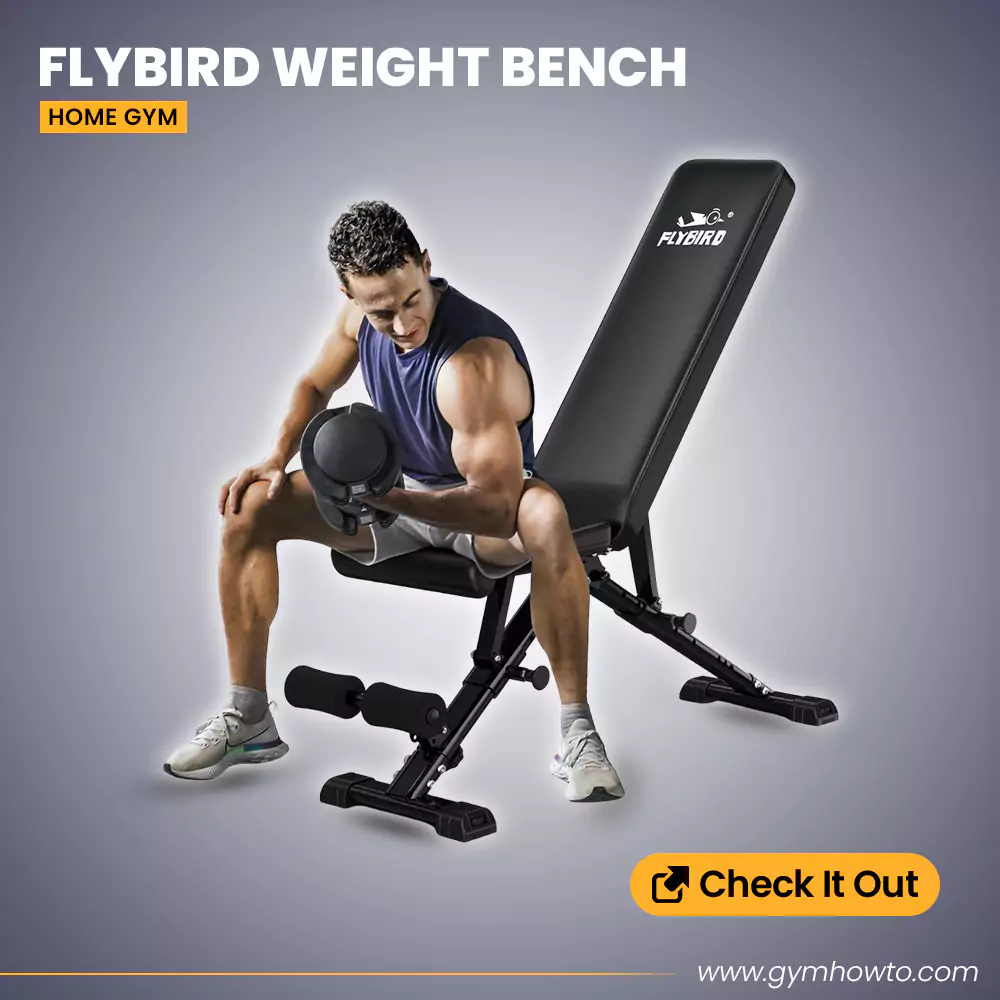
- Adjustable bench. It unlocks incline and flat pressing, supported rows and step-ups. See our best adjustable weight benches.
- Pull-up bar and resistance bands. Cheap, small, and the best tools for back training and assisted pull-ups.
- Rack or all-in-one machine. Add one once you're outgrowing dumbbells, usually after 3–6 months of steady training.
- Cardio machine. Buy the type you enjoy most. On a budget, a treadmill under $500 covers walking and light jogging.
Want it all in one shopping list? Use our home gym planner to get a prioritised list for your budget, space and goal, or see the $500 home gym build, which lists 11 items that cover a full-body workout.
Home Gym Setup Checklist
- Floor space, ceiling height and doorways measured
- Equipment footprints and clearance taped out on the floor
- Outlet available for any motorized equipment
- Rubber flooring under weights and machines
- Heavy equipment against walls; open floor zone kept clear
- Ventilation sorted: window, fan or air conditioning
- Wall storage for bands, bars and small items
- A mirror if you train alone (helps with form)
- A simple 3-day-a-week plan so the gym actually gets used
Common Home Gym Setup Mistakes
- Buying before measuring. The most common reason equipment gets returned or goes unused.
- Ignoring ceiling height. Pull-ups and overhead presses need more room than people expect, especially in basements.
- Filling the floor. Without an open zone, warm-ups and floor exercises get skipped.
- Starting with a big cardio machine. It's the most expensive piece and the one most likely to become a clothes rack. Start with strength basics.
- Skipping flooring. Cracked tiles, scratched hardwood and complaints from downstairs neighbours cost more than the mats.
The Bottom Line
A good home gym setup starts with a tape measure, not a shopping cart. Measure the space, plan a strength zone, an open floor zone and a cardio zone, put down rubber flooring, and buy adjustable dumbbells and a bench first. You can add a rack or cardio machine once you know what you'll use.
Next: price it out with our home gym cost guide, or see the home gym guide for equipment picks.